Key Takeaways:
- Ensure unobstructed access to loft hatches, boiler cupboards, and under-sink areas.
- Keep pets secured in a safe room during the inspection.
- Record times and locations of unusual sounds or sightings.
- Technicians provide full transparency on findings and treatment steps before starting.
Why Preparation Helps
A thorough initial inspection is the cornerstone of effective pest eradication. When our technician arrives, having clear access to problem areas ensures a swift, precise diagnosis.
Simple Preparation Checklist
Follow these straightforward recommendations before your scheduled appointment:
Clear Access to Key Areas
Move items away from kitchen kickboards, under-sink cupboards, loft hatches, and boiler cupboards so the technician can inspect dark voids.
Preserve Evidence Where Safe
Avoid deep cleaning or disposing of droppings or dead insect specimens immediately before the visit—they provide invaluable diagnostic clues regarding species and population age.
Secure Household Pets
Ensure cats, dogs, and smaller pets are safely housed in an untreated room or with a neighbour while the inspection takes place.
Note Down Key Timings
Keep a brief log of when and where noises, sightings, or bites occurred to help the technician identify activity patterns.
What Happens During the Visit
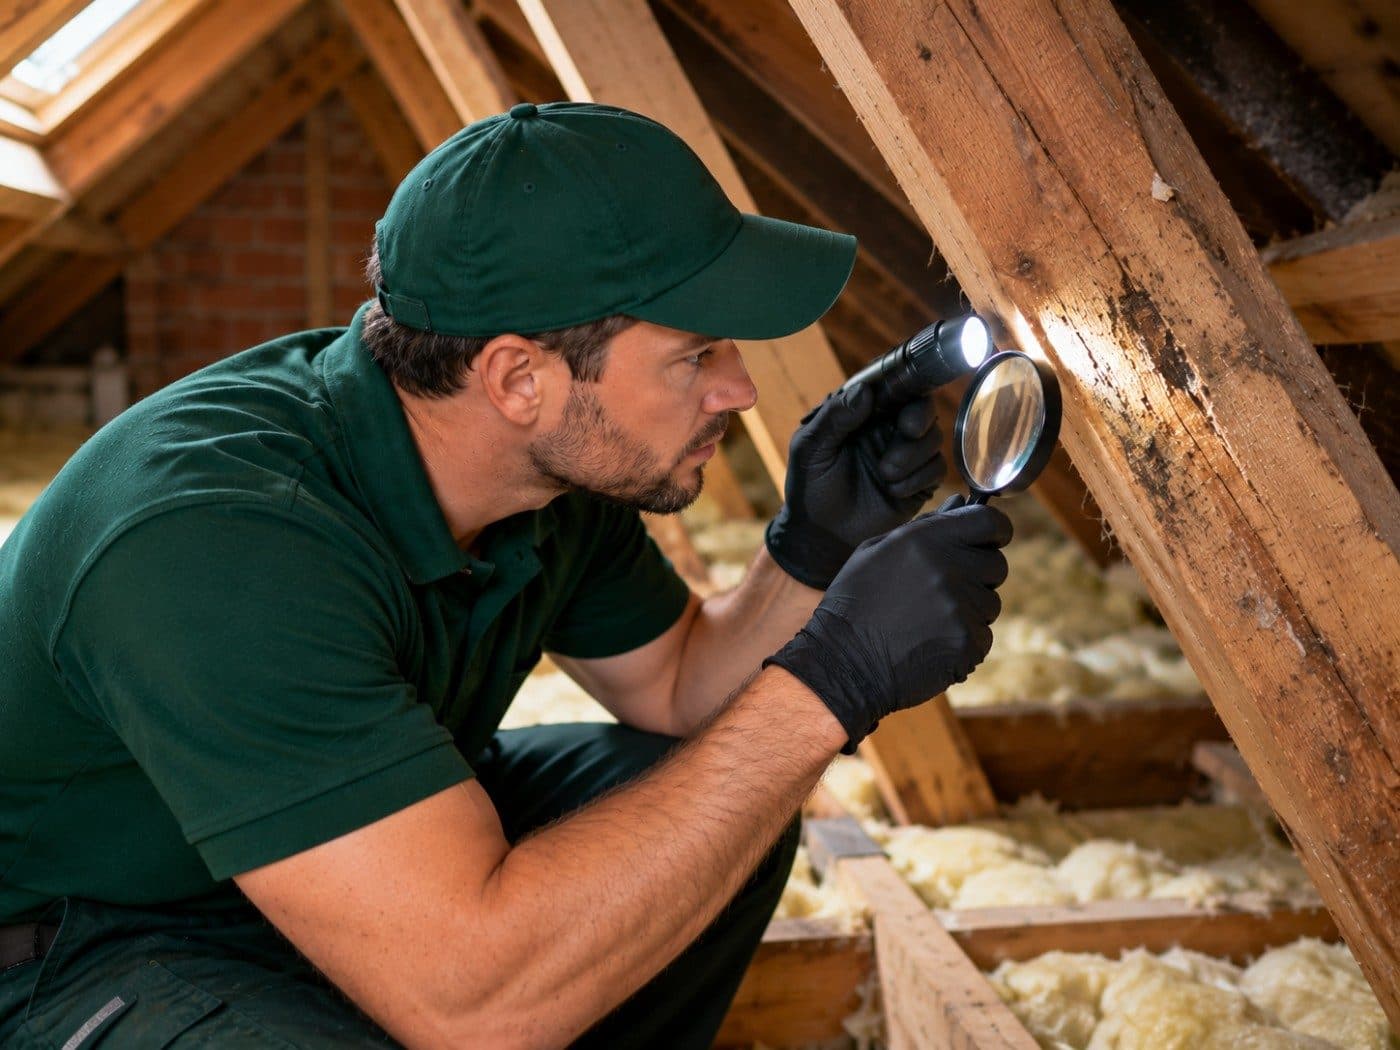
The technician will introduce themselves, discuss your observations, examine suspected harborages, explain their findings clearly, and propose an agreed treatment plan.
Do not apply retail spray chemicals immediately prior to an inspection, as this can conceal active trails and mask harborage indicators.